STEP 1 – Installing the application
Download the Setup-CopyHunterDB.zip. Unzip the file Execute Setup-CopyHunterDB.msi file with Administrator rights (right-click installer …Run as Administrator)
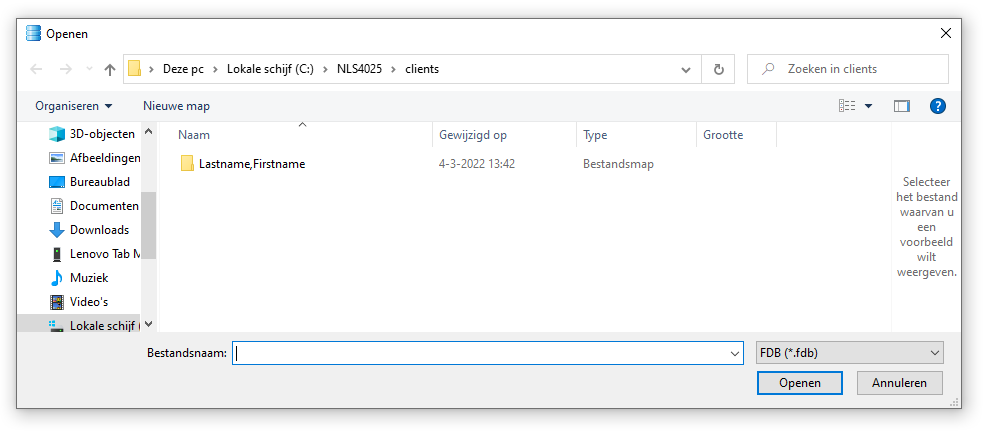
Upon first run the tool will create in your My Documents folder an new folder called NLS4025 with 2 subfolders named clients and backups. In the client folder you’ll find a subfolder called Lastname, Firstname. You may create for each client of yours a subsequent subfolder where you can store your database files.

STEP 2 – Starting the application
After installation you’ll find an application icon on your desktop called CopyOberonDB. Once you have started the application it will check if it can find the Oberon database folder and the Oberon/client and backup folders.
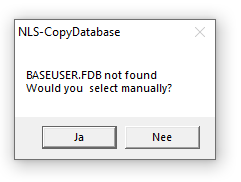
If the tool can’t find the Hunter 4025 BASEUSER.FDB database, it will ask you the specify the correct path.
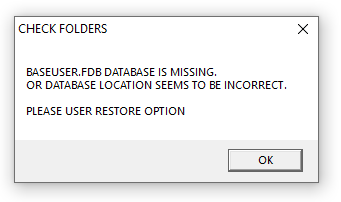
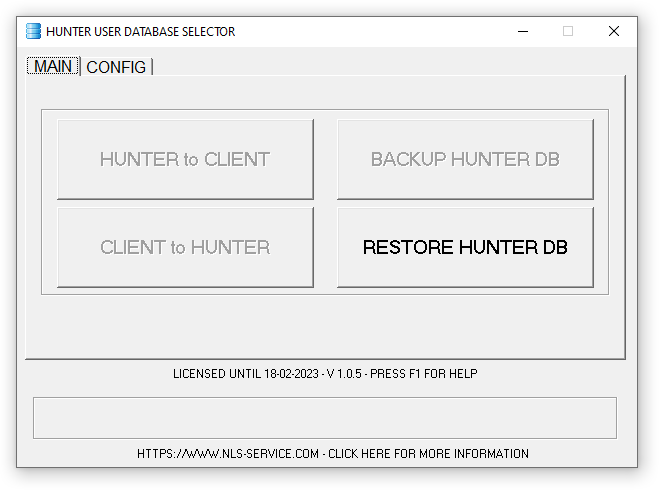
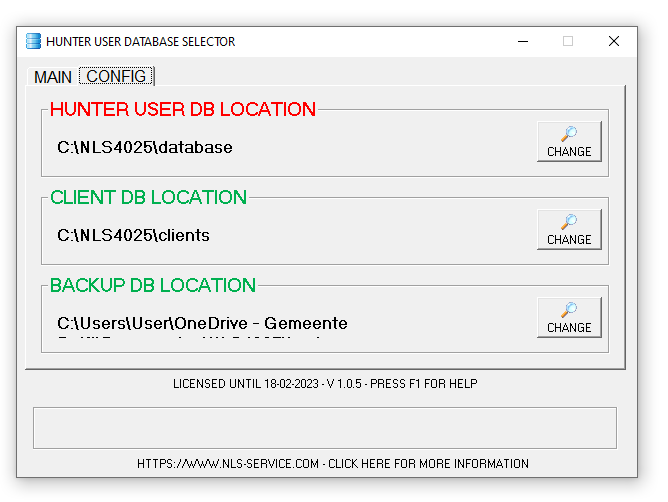
The red coloured text indicates that the specified path is not pointing to the folder containing the Hunter 4025 baseuser.fdb database. Use the Change button to select the correct folder. Once the path is specified correctly, the greyed-out buttons will be enabled.
The default database path looks like this: c:\NLS4025\base but in some occasions you may find this in the appdata folder of the current user.
STEP 3 – Making backups
Use the BACKUP HUNTER DB button to create a copy of the client database in de My Documents\NLS4025\Backups folder.
If you press the Shift key simultaneously when clicking the button, you’ll be guided to the root of the file system.
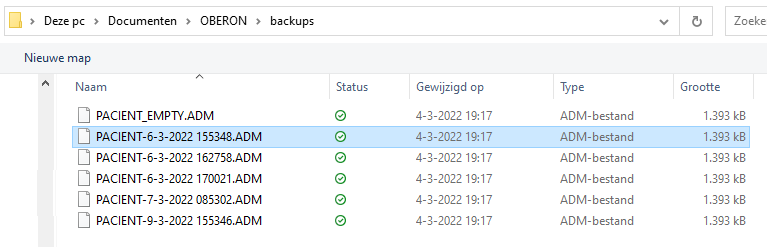
Each back will be tagged with a date and time stamp
The backup folder also contains an empty client database. You can restore this empty database when you’re creating a fresh new database for a new customer/client.
The status of each operation is displayed in the status bar

STEP 4 – Restoring backups
Prior to the restore process, the tool will ask you if you want to make a backup of the current client database. If so, a copy of the current database will be copied to the NLS4025\backups folder.
If you press the Shift key simultaneously when clicking the button, you’ll be guided to the root of the file system.
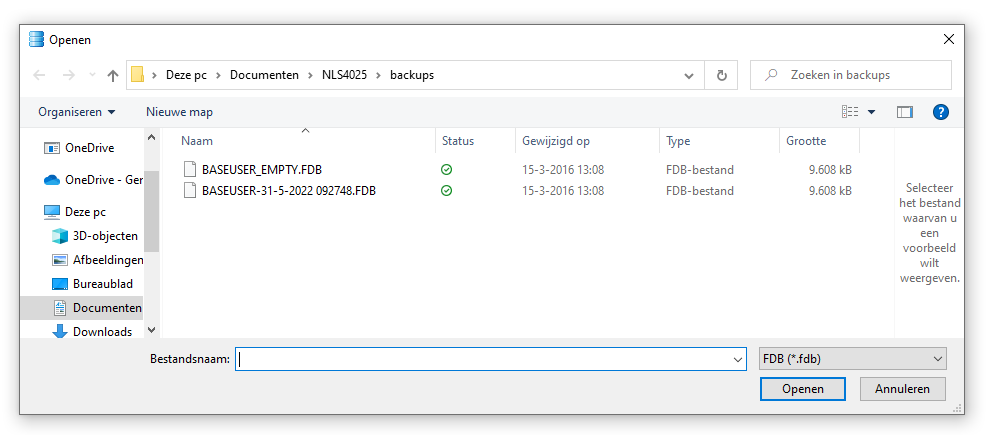
Use the RESTORE HUNTER DB button to restore previously made backups or create a new empty database.
Simply select the backup you wish to restore. The status of each operation is displayed in the status bar.

STEP 5 – SWAPPING CLIENT Database
Once you have finished working with a specific customer, you can move the Hunter client database to a dedicated client folder. Simply press the HUNTER to CLIENT button and browse to the designated client folder.
If you press the Shift key simultaneously when clicking the button, you’ll be guided to the root of the file system.
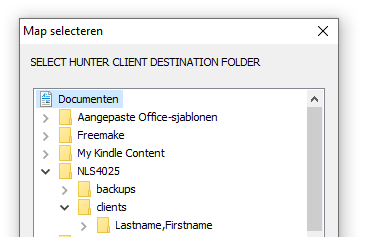
The specified CLIENT DB LOCATION is used as a starting point in the explorer selection screen.

STEP 6 – MOVING A CLIENT DATABASE FOR ACTUAL USE WITH HUNTER
Use the CLIENT to HUNTER button to move a client database from its dedicated folder to the HUNTER database folder.
If you press the Shift key simultaneously when clicking the button, you’ll be guided to the root of the file system.
The status of each operation is displayed in the status bar